

Welcome back to our Adobe Premiere Pro for Beginners Tutorial Part 2. Today we will learn more about effects and transitions. If you didn’t follow the first part, I encourage you to read it here!
Now, without further ado, let’s start!
How to find the right rhythm?
Editing is all about finding the right rhythm.

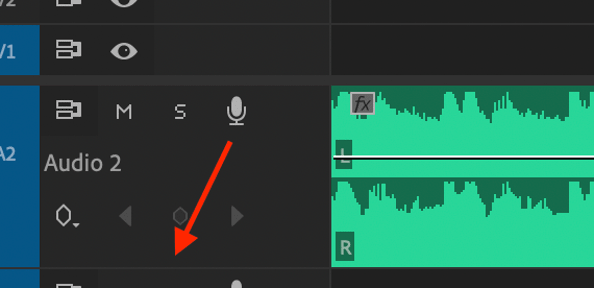
As you put the music track on your Timeline, you will see that it is pretty thin. Moreover, that doesn’t allow you to clearly see the soundwaves, which is useful to help you edit. So, I suggest you to drag the edge of the track to make it clearer.
Let us move to Basic Editing
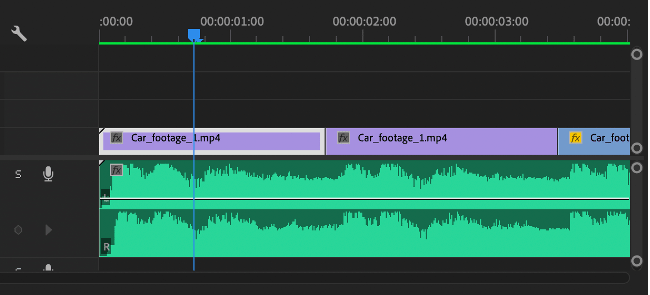
So, for the beginning, we can start by cutting and placing a footage. It will give you something like that on your Timeline.
Multiple Shots Transition
To make it a little fancier, we can create a quick transition with different very short shots. As the riff is seemingly a triolet (1 time unit divided in 3), we’ll use 6 shots. You can use more if you want, but 6 would probably be the minimum in this case to get a good result.
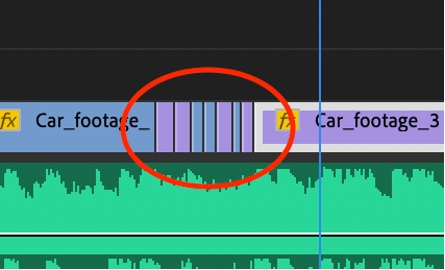
- Place them like that on your Timeline and play that part in your Program panel to see how it looks.
- Make adjustments in the length of those shots until you’re satisfied of the result.
How to add Shaky Camera Effect
To give you clear view of shaky effects, here is a tutorial for you to begin with.
Let’s add a shaky effect to the next shot. Choosing a close-up shot would be relevant for this effect since the goal is to simulate a shaky camera movement, just like if you were filming a car up close.
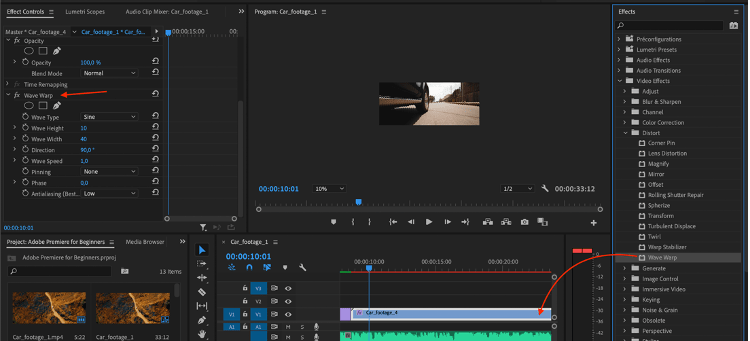
- Go to the Effects panel.
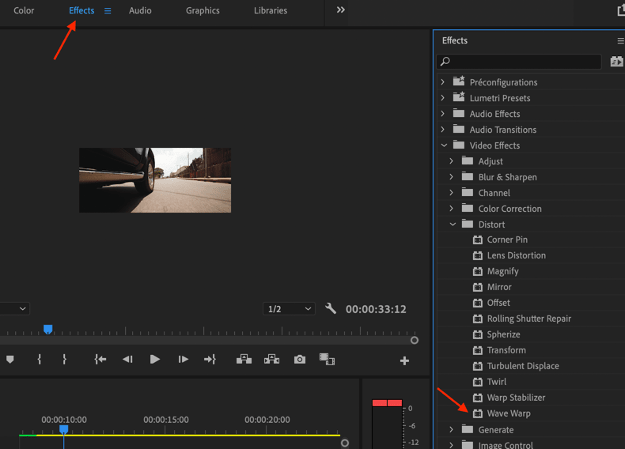
- Go to Video Effects > Distort > Wave Warp
- Drag the effect directly on the video clip on the Timeline and you’ll see the effect settings appearing on the Effect Controls panel.
- Choose Smooth Noise on the Wave Type setting

- Change the Wave Height to around 100 and the Wave Width to 1. At this point if you compare to the same clip, you’ll see that we already have this shaky effect that simulate the movement of the car.
- Now you can modify other parameters as you want. For this shot, Direction at 90° looks good but you can try at 0°. By increasing the Wave Speed you’ll simulate a faster car. A Wave Speed of 5 seems fine, but again you can try other values.
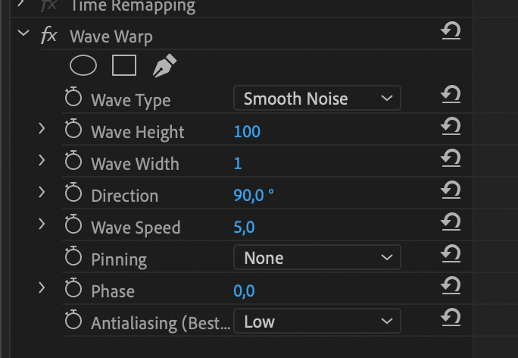
In the end, you should have parameters similar to the image.
Fade-in Transition
Here is a short tutorial video on how to Fade In Out Video In Adobe Premiere Pro.
Let’s tackle a classic transition now, the fade-in and fade-out.
In our case, we will try to make a smooth transition between two clips. To do so, we will choose similar clips and try to make them overlap.
How to change the position of clips?
Since the two clips aren’t really similar at the beginning, we will try to change the position.
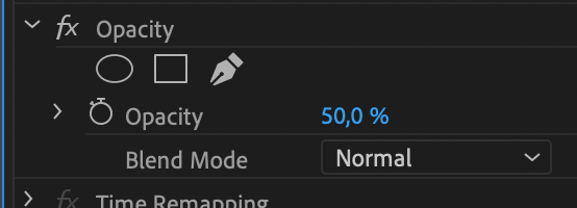
- To do so, take the clip, place it on the Timeline, and click on it. Then on the Effect Controls panel, put the opacity at 50%.
- Now put the 2nd clip on the V2 track, that is to say on the video track above the first one we’ve previously used. And make the two clips overlap.

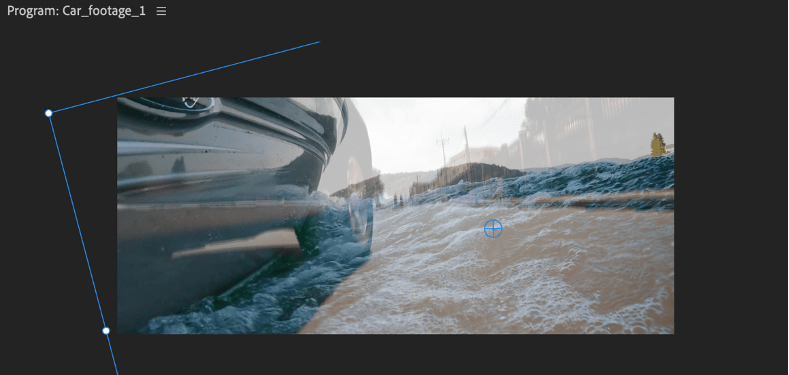
- Now double-click on the 2nd clip preview on the Program panel. You’ll see that you’ll be able to change the position and rotation of the clip. Thanks to the opacity of the file, you’ll be able to see the 1st clip underneath the 2nd one. Make small adjustments so that the two videos (the car and the boat) overlap.
- Once you’ve done, put the opacity of the 2nd clip back to 100%. And you can put the 2nd clip that was on V2, next to the 1st clip on the 1st video track V1.
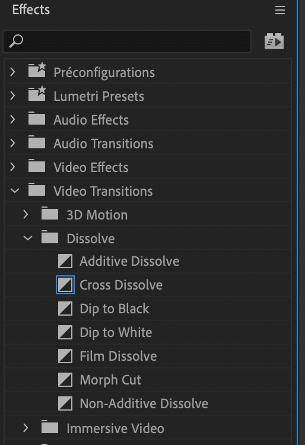
- In the Effects panel, go to Video Transitions > Dissolve > Cross Dissolve. Then add it directly on the left edge of your 2nd clip.
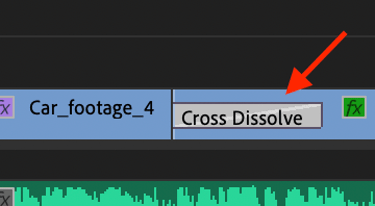
- You can adjust the length of the transition by just stretching the Cross Dissolve effect that appears on the file.
Strobe Transition
For the next transition, we’ll do a strobe transition. You can also reference a tutorial first.
- To do so, we will first make our two clips overlap on V1 and V2.
- Cut the 2nd clip where the 1st clip ends.
- Then on the Effects panel, we will look for Video Effects > Stylize > Strobe Light.
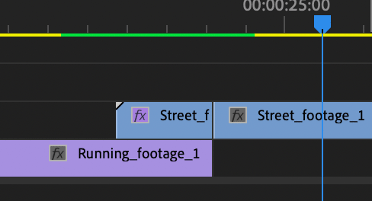
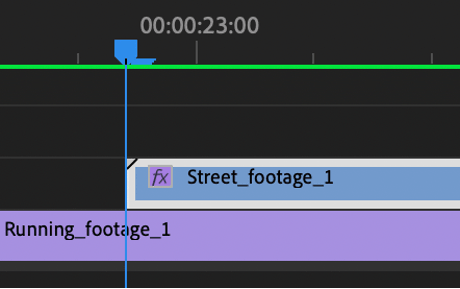
- Place the effect on the first part of the 2nd clip you’ve just cut. As you can see here.
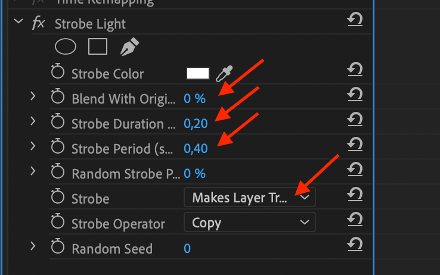
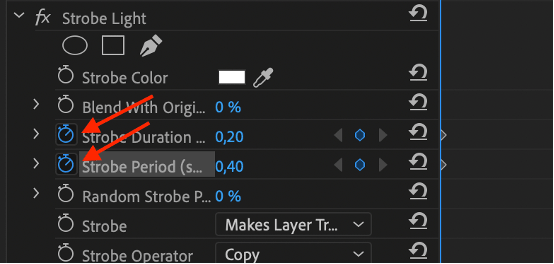
- Put Blend With Original at 0%; Strobe Duration at 0,20; Strobe Period at 0,40; and Strobe on Makes Layer Transparent.
- Place your cursor at the beginning of the 2nd clip, then click on the Toggle Animation icon of Strobe Duration and Strobe Period.
- Then place your cursor at the end of the 2nd clip, then put Strobe Duration at 0,01 and Strobe Period at 0,40.
You can actually modify those values as you want depending on the result you expect. What we did there was a keyframes animation of the parameters Strobe Duration and Strobe Period.
Masking Effect
Now let’s do a very popular transition based on masking. You can also follow this tutorial.
- First thing to do is placing the 2nd clip on the video track above the 1st clip.
- Use the arrow to go to the frame where the object takes the whole screen (in height).
- Click on the first clip and go to the Opacity section.
- Then click on the pencil icon.
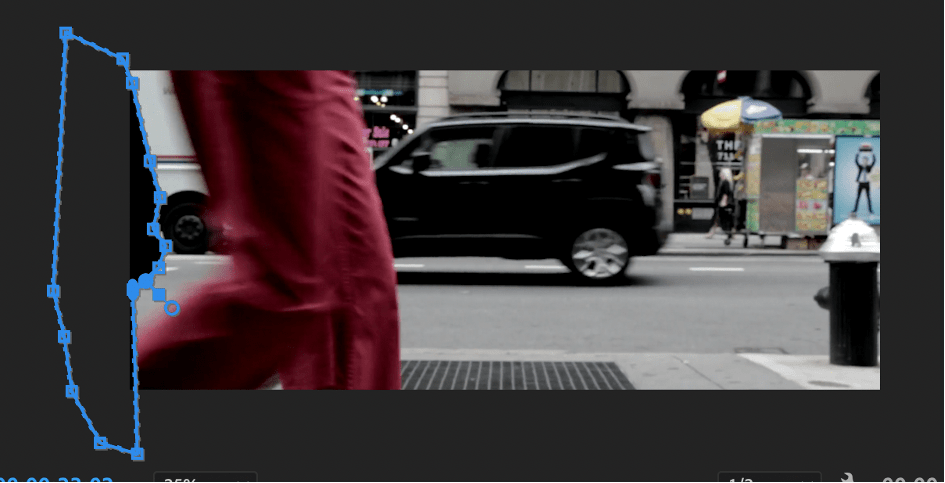
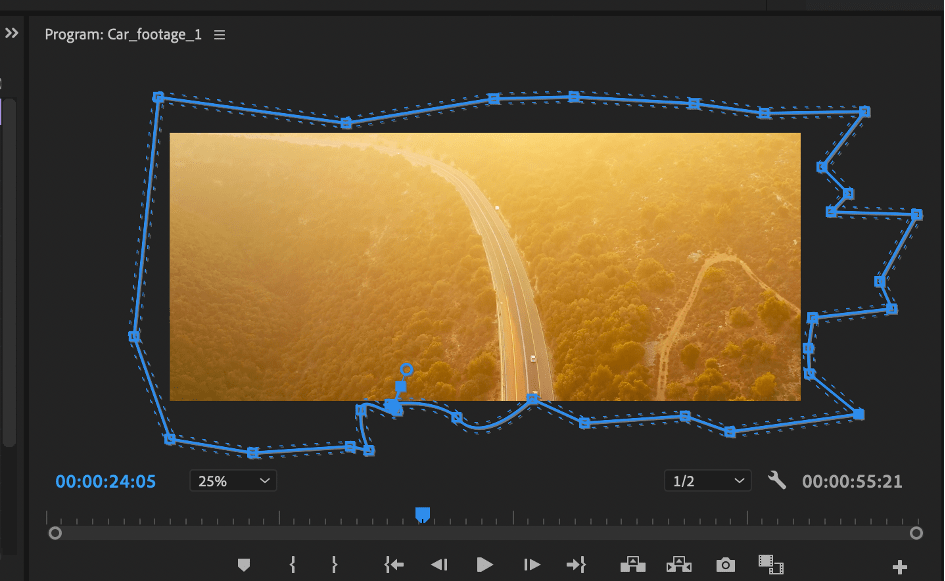
- Then start by double-clicking on the Program panel and use this tool to cut out the object.
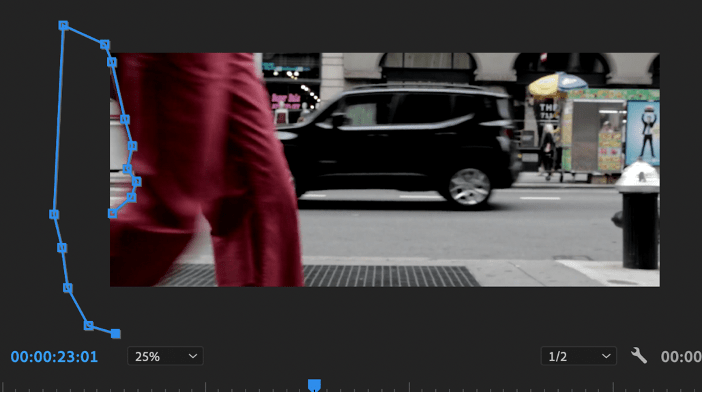
- As you connect the first and last dots, you will get something like that.
- Go to the Effect Controls panel and tick the Inverted case on the Mask (1) section.

- Put the Mask Feather to a value between 30 and 40, depending on the result you want, to smoothen the mask’s contour.
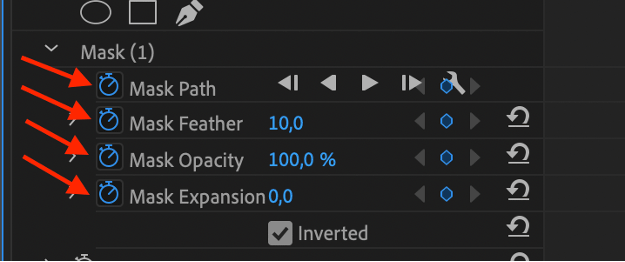
- Then click Toggle Animation on the 4 settings of the Mask (1) Section.
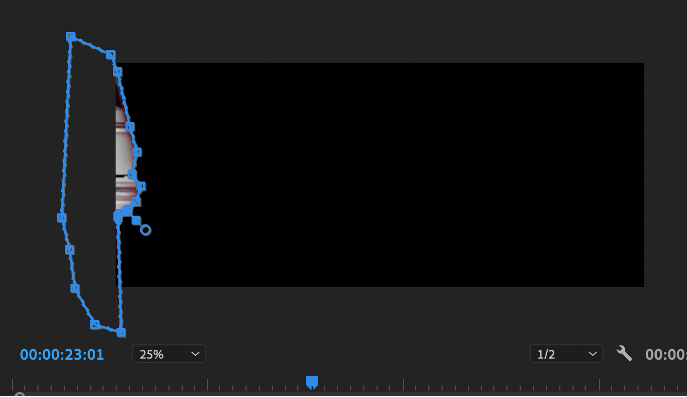
- For each frame, change size and shape of the mask so it covers everything behind the object of the first clip (the person walking).
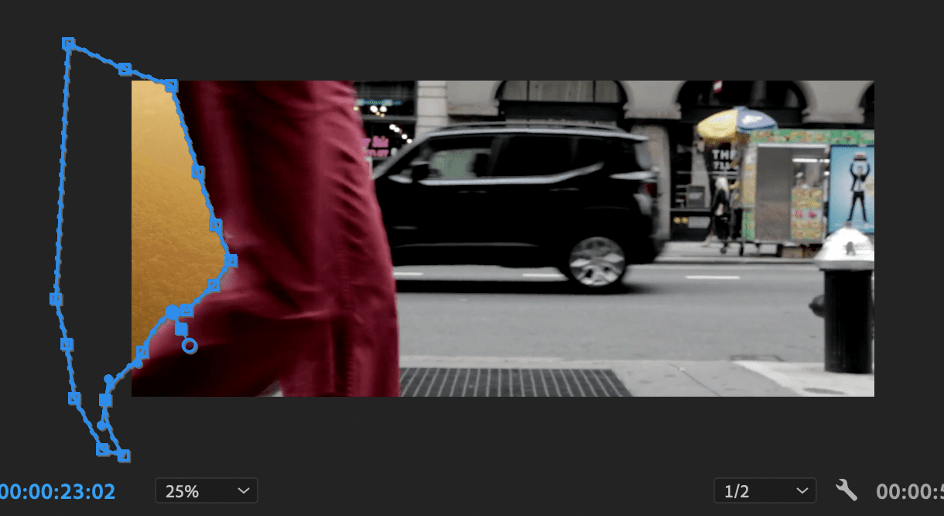
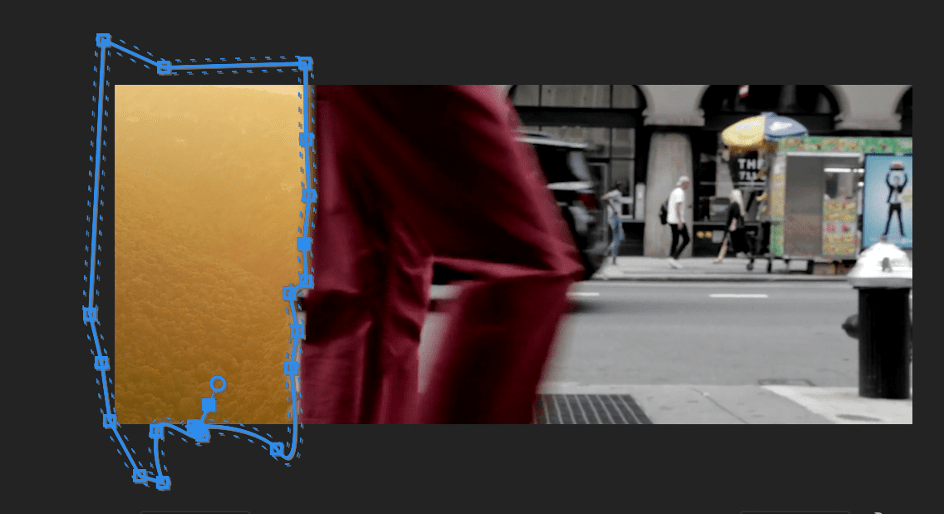
- Repeat this for each frame until the end of the transition (when the second clip covers the entire screen).
Ultra Key Green Screen
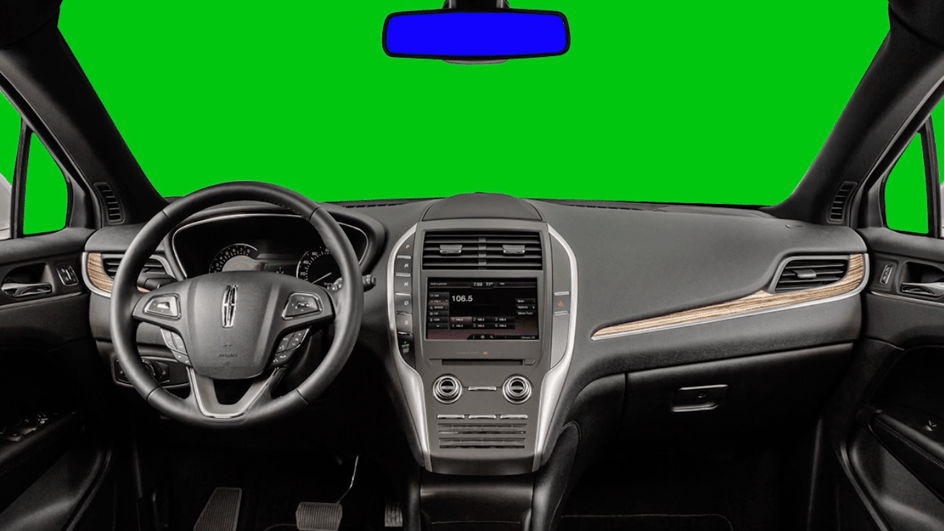
Now for our next effect, we will use Ultra Key green screen in a similar way as we’ve already done in one of our previous articles. To do so, we will need a green screen video (a car interior for example), and another clip or image for our background.
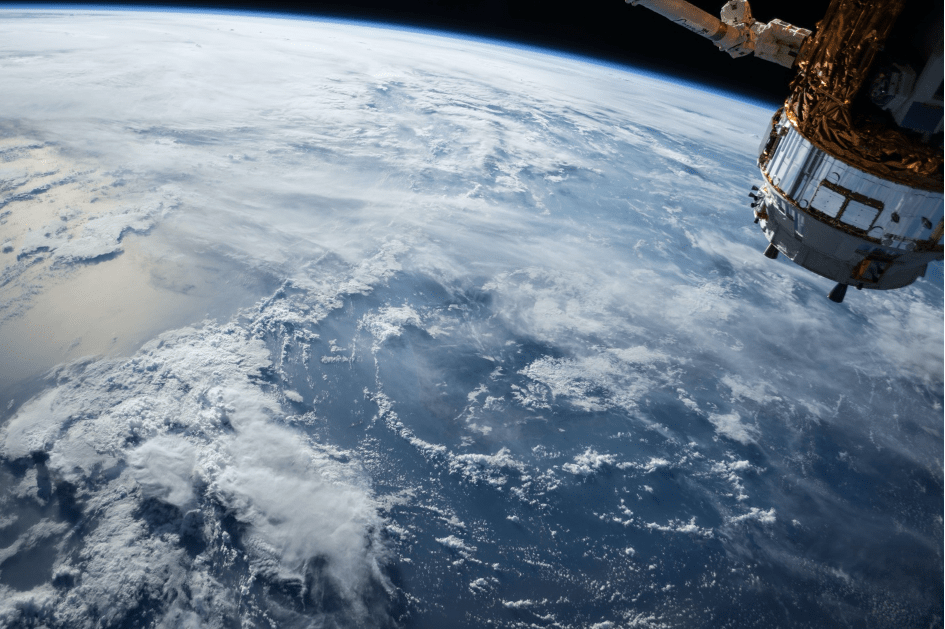
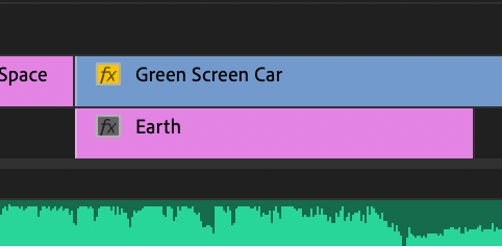
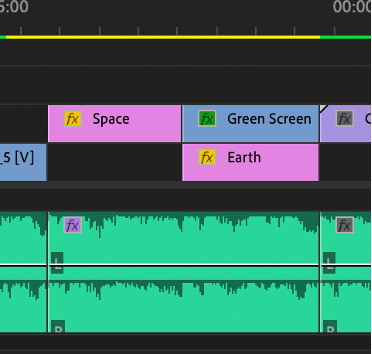
- Place the green screen on the Timeline and the background image on the video track above the green screen.
- Go to the Effects panel and look for Video Effects > Keying > Ultra Key.
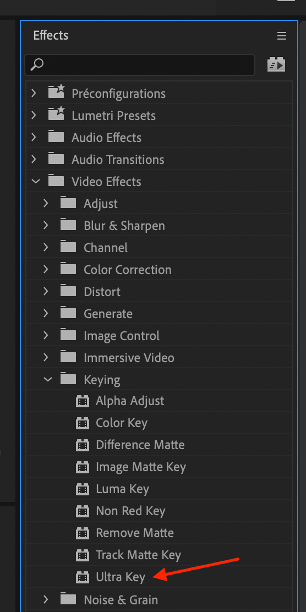
- Add the effect to the green screen video.
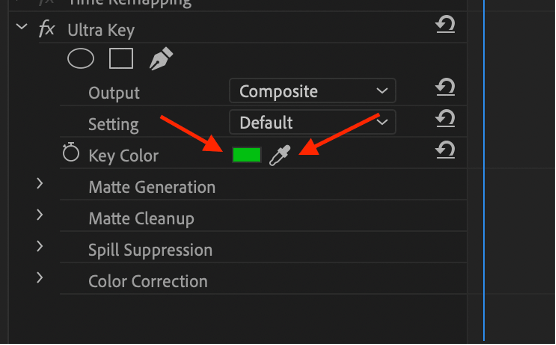
- Click on the eyedropper icon then click on the rectangle next to it.
- Then, hold and release it on the green color from the green screen video of the Program panel.
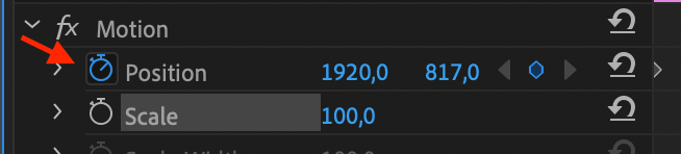
- To add more movement, we’ll add a keyframe animation on the position of the background image.
- Place the cursor at the beginning of the clip.
- Click on the background image, then go to the Effect Controls panel.
- Click on Toggle Animation on Position.
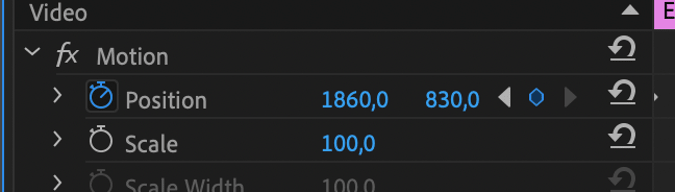
- Place the cursor at the end of the clip and put the Position values at 1860 and 830. Again, those values can be changed depending on which result you want to get.
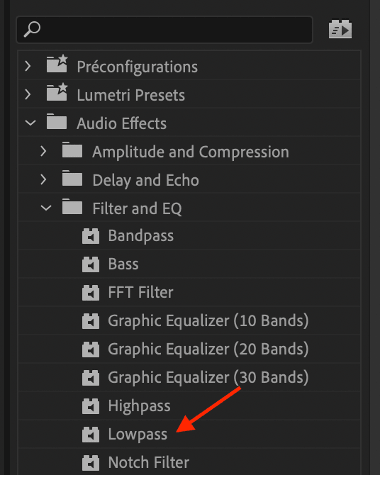
Lowpass Audio Effect
Now let’s see an interesting audio effect called “Lowpass”.
- Cut the audio file where you want to apply your Lowpass effect.
- Go to the Effects panel and look for Audio > Effects > Filter and EQ > Lowpass.
- Drag the effect on the audio file you just cut. It should look like that.
- Click on the audio file, then go to the Effect controls and put the Cutoff at the value that sounds right to you. In our case, we’ll put it at 300Hz.

Note: The transition to the audio file without the Lowpass can be pretty abrupt. To make a smoother transition. Place the cursor towards the end of the audio file (something like ¾ of the file).
- Then, click on the audio file, go to the Effect Controls panel and click Toggle Animation on the Cutoff.
- Place the cursor at the end of the audio file and put the Cutoff at a very high value (6000Hz for example). That way your audio transition will be smoother.
- To finish the video, we will add a last shot that comes from the same source as the first footage we’ve used.
And that’s it for the part 2 of our Adobe Premiere Pro for Beginners Tutorial! Hopefully you’ve learned useful transitions and effects by reading this article. And if you’re looking for tracks just like the one we have used for this tutorial, check this Stadium Rock Playlist from BAM Music!


